Bitlash Commander
Bitlash Commander is a node.js web interface toolkit for Arduino. It serves web pages containing buttons, sliders, and chart controls, easily customized, which trigger Bitlash scripts you specify to control the Arduino over the usb-serial link.
Commander includes a graphical panel editing environment suitable for bringing up simple control panels without any coding, as well as a hands-on Javascript/HTML page development environment with plenty of examples for deep customization.
For documentation please see the Bitlash Commander wiki: https://github.com/billroy/bitlash-commander/wiki
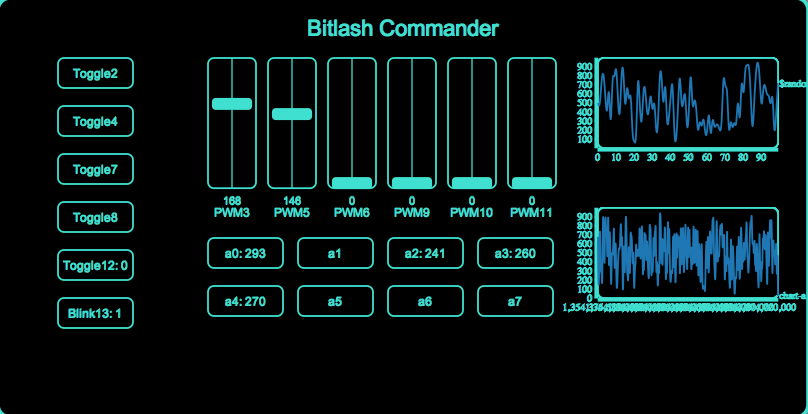
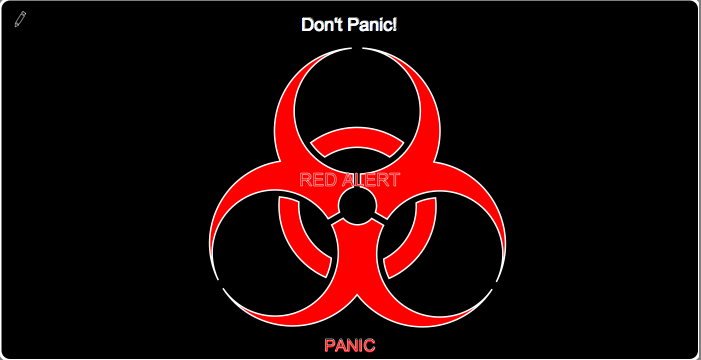
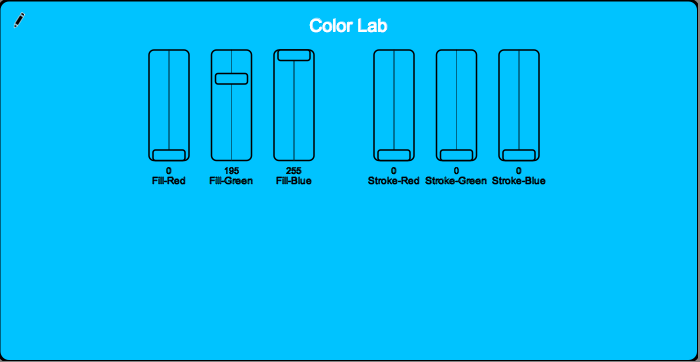
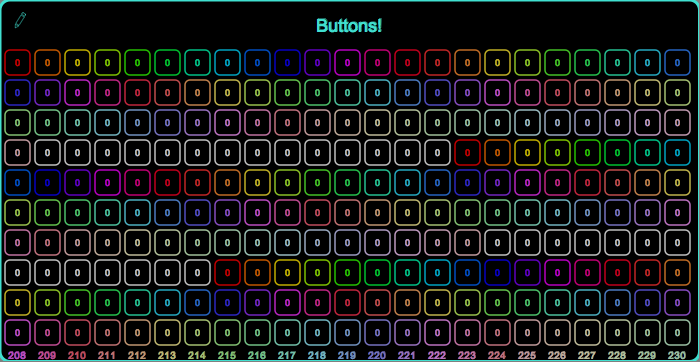
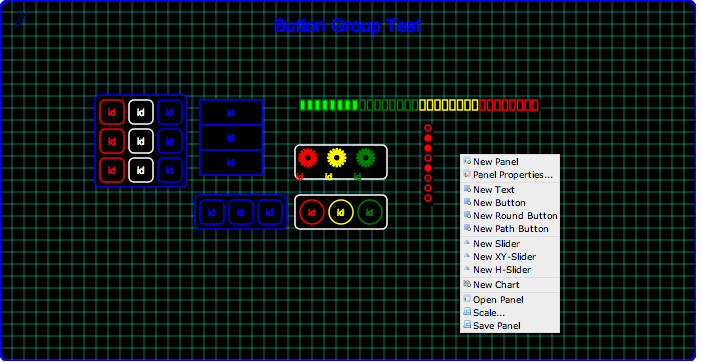
Here are screenshots of some of the examples that ship with Commander:
Here is an overview of the architecture of Bitlash Commander:
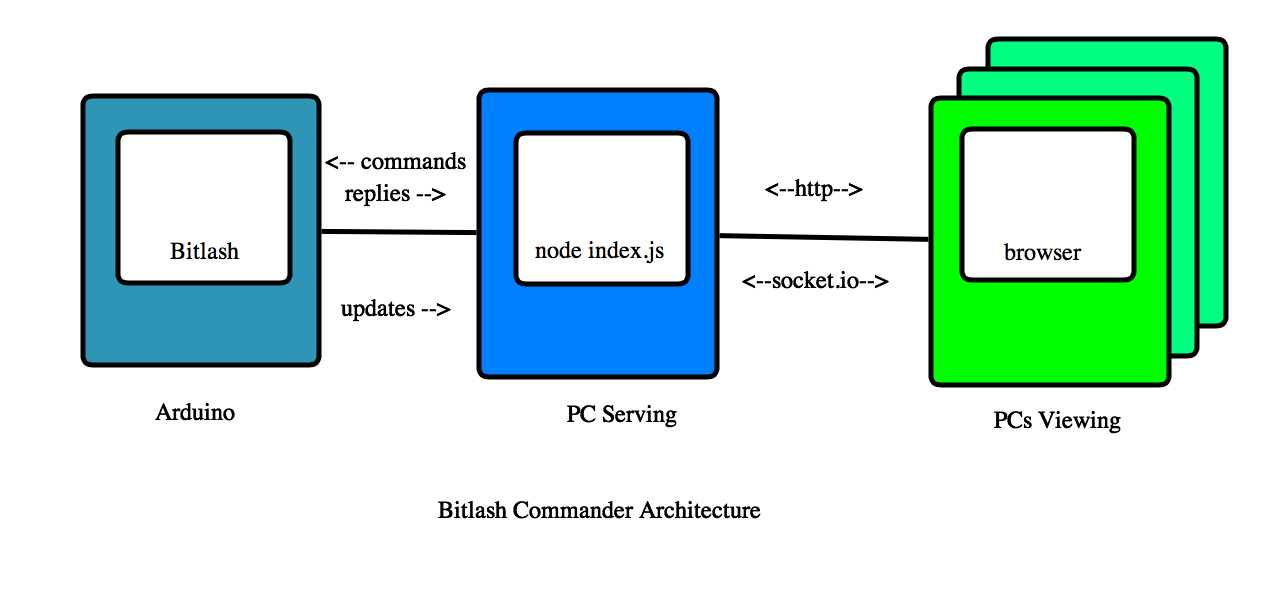
The PC Serving and PC Viewing can be, and usually are, on the same PC; the server requires very modest system resources.
Installing Bitlash on the Arduino
To start, you need to upload Bitlash to the Arduino.
First, install the Bitlash library from GitHub into your Arduino library folder(see https://github.com/billroy/bitlash/wiki/install).
Second (after restarting the Arduino IDE), connect your arduino and perform these commands in the Arduino IDE:
File -> Examples -> bitlash -> bitlashdemo
File -> Upload
This wouldn't be a bad time to connect to Bitlash on the arduino using the Serial Monitor (at 57600 baud) and familiarize yourself with Bitlash a bit. When you're done, close the Serial Monitor and continue here.
Installing Bitlash Commander on the PC
Install Prerequisites: node.js, git, build environment
You need node.js (http://nodejs.org) and git (http://git-scm.com). Do those installs, and return here.
You also need a compiler and build environment for your platform so that the serial port driver will build successfully. Follow the guidance for your platform here in the section titled "To Install" before proceeding: https://github.com/voodootikigod/node-serialport
Install Bitlash Commander
In a new terminal window, incant:
$ git clone http://github.com/billroy/bitlash-commander
$ cd bitlash-commander
$ npm install
$ node index.js
Open a web browser on localhost:3000 to see the default control panel.
To start the web server on a different port:
$ node index.js -p 8080To specify a serial port for the arduino you would start it this way:
$ node index.js -s /dev/tty.usbserial-F00D2321Windows users will need to specify a com port using -s. On Mac and Linux, the first usb arduino is used unless -s is specified.
To secure the server by requiring a login (edit the user/password table in index.js):
$ node index.js -lFor help:
$ node index.js --help
Usage: node ./index.js [flags]

Options:
  -p, --port        port for the http server
  -s, --serialport  port for usbserial arduino connection
Customize
Copy public/index.html to public/new.html and edit new.html to add your controls following the addButton / addSlider examples you will see there. Then open new.html for testing:
http://localhost:3000/new.htmlButtons display the value returned by Bitlash in their label. Make sure your script causes Bitlash to print the output you'd like displayed.
There are many options you can set on the Button and Slider object, though mostly the defaults should work for you. See Button.init() and Slider.init().
The "Script" field
The script field of a control contains the Bitlash code you want executed when the button is pressed or the slider is moved. The text of the script field is sent to Bitlash, and any reply from Bitlash is displayed by the control (if it's a Button).
Here is an example that toggles pin 13 and returns the value of pin 13 by printing it:
{script:'d13=!d13;print d13'}Text substitution using Mustache
You can customize the script sent to Bitlash based on the current value of the control.
Here is an example that sets analog output 5 to the current value of the slider and prints it back as a response message:
{script:'print a5={{value}}'}You can use any field of the control object in {{}}.
Pushing data from Bitlash
It is desirable to be able to update indicators on the control panel without action from the operator. To do this, Bitlash Commander provides an upstream data channel from Bitlash to the controls on the various web pages open on the server.
To update a control using the upstream JSON channel you must know the control's id. The easiest way is to assign one when you create the button in the .html file. In this example from public/push.html, the button has the id 'millis':
var Panel = new ControlPanel({color:'turquoise'});
Panel.addButton({id:'millis', x:100, y:100, w:250, text:'millis'});
To update this control from Bitlash you would print a line of this form from a repeating background function:
{"id":"millis","value":"33861"}...where 'id' is the id of the control, "millis' in this case, and 'value' is the new value for the control.
Here is a Bitlash utility function to properly format JSON output for any id and value. Copy and paste this definition into your Bitlash so you can use it below:
function update {printf("{\"id\":\"%s\",\"value\":\"%d\"}\n", arg(1), arg(2));};Here is an example of how to call update, and a startup function to trigger it every 1000 ms; copy and paste these, too:
function pm { update("millis", millis); }
function startup {run pm,1000;}
If you copy and paste those functions to your Bitlash, you can open the "push.html" file in the distribution to see the millis counter update in action.
http://localhost:3000/push.htmlListening for control updates
You can implement side-effects (like playing sounds or updating secondary controls) by listening for control updates.
The push example in the file public/push.html shows event listeners in use:
var Panel = new ControlPanel({color:'turquoise'});

Panel.addButton({id:'millis', x:100, y:100, w:250, text:'millis', script:'print millis'});
Panel.addButton({id:'clock',  x:100, y:180, w:250, text:'clock', script:''});
Panel.addButton({id:'clock2', x:100, y:260, w:250, text:'clock2', script:''});

Panel.controls['millis'].on('update', function(data) {
    Panel.controls['clock'].setValue(data.value);
});

Panel.controls['clock'].on('update', function(data) {
    Panel.controls['clock2'].setValue(data.value);
});
To Do / Bugs
commander sketch with:
- update, updatestr
- outie
- tone
BUG: panel properties color changes don't punch through to new buttons
mustache-expand the label text
bug: group.delete doesn't delete subitems
bug: change the id in property editor -> duplicate items
- delete/remove old item when id changes during edit
bug: duplicate item -> save -> item is lost
- id duplication?
grid fill with small image is costly and does not adapt to grid size
- try drawing the grid explicitly, at the grid size
commander page is too big for ipad
BUG: field edit: intermediate edits are lost on '+'
BUG: buttons don't work on iPad
BUG: xy controls get wider on the roundtrip
- don't mess with w / h
- BUG: path buttons get their w and h set: bug?
xy sliders
- BUG: update channel can't handle xvalue, yvalue
- bug: slide position isn't right on page initialization
- bug: slides move to center on drag
- recenter after command
- easing instead of one big jump
bug: chart svg doesn't update color on a panel stroke change
bug: dragging button doesn't drag repeat indicator
fix handling of color: and label: properties in panel setup color should be stroke; get rid of color label should be text; get rid of label
button group
- bug: create a group of round buttons in panel editor: buttons don't show
- bug: grouped items should show the parent's menu
- bug: don't save generated buttons (which have a 'group' field)
thumbnails for index page
localhost-only mode
property editor
- for button group: decode array attributes from property editor
- broadcast control updates
- delete the control, force the id, and broadcast update -- deleting control requires a separate command? or a null value?
edit mode
- drag resize
- color picker
chart control
- data source periodic run
- time axis values ick
- y axis min/max options
- multiple data sources [a0,d1,random(100)]
- best handled with push to the control id
- control can ignore the update or note it to trigger refresh
server:
- for viewer nodes: fetch remote data for a chart on demand
doc:
- commander front page
- getting started
server options
- starting and stopping
customizing scripts
the panel editor
panel options
- channel
- title x and y
javascript: scripts
- mustache templating
link to Commander on bitlash.net
- button.attr() and slider.attr()
move()
toFront()
- iterates across subelements
- svg group?
- examples
- security & auth
detect serial port closure and reconnect
- reconnect button
detect socket.io port closure and reconnect
twitter integration
- server credentials/auth/sender
- send tweet from client
- receive tweets as commands?
datalogging
- limit number of points per series
- facility to write to disk
- integrate with cosm for upload
controls
- uploader button: click to upload a bitlash code file or url to the arduino
- autorunnable
- image, clickable to start/stop refresh
- scrolling text panel
- knob
- syschat
- image
- uploader button: click to upload a bitlash code file or url to the arduino
examples
- synth
- piano
- trafficlight
- elevator
- security alarm system
- train set
- remote doorbell
- send text command from keyboard
- lunch bell
revisit default sizes as % parent width/height
improve operation without arduino connected
alert delivery
- http://fabien-d.github.com/alertify.js/
- sms
remote ethernet- and wifi- connected arduinos
redis pipe command sink for Commander
client POSTs to server-ip/update/:id/:value for the upstream path
- server POSTs bitlash commands to arduino
- how to configure IP and port for remote bitlash
- security
- tls isn't available
- ip whitelist
- shared secret in the message
firewall
- need continuous connection like redis client
multiple arduino support
- command steering
- node registry / configuration
- ip-accept list
[['bitlash1', '192.168.1.17'], ...]
- scripts addressed to bitlash1: would go to 192.168.1.17
how to let heroku server know it can't dispatch to local bitlash
Incoming OSC
- map to controls by id